View and Changing Forecasts
You can change the forecast data by changing one or more of the forecast parameters.
What do you want to do?
Tasks in this Topic Include:
- Access View Forecast
- Change Calls
- Change Average Handle Time
- Change Service Objectives
- Change Patience and Abandon %
- Set Adjusted Agents
- Change Non-Call Activity Volume
Related Tasks:
Change Forecasts
Access View Forecast
- Select Forecast > View Forecast.
Applying Filters
- Select a Skill Code.
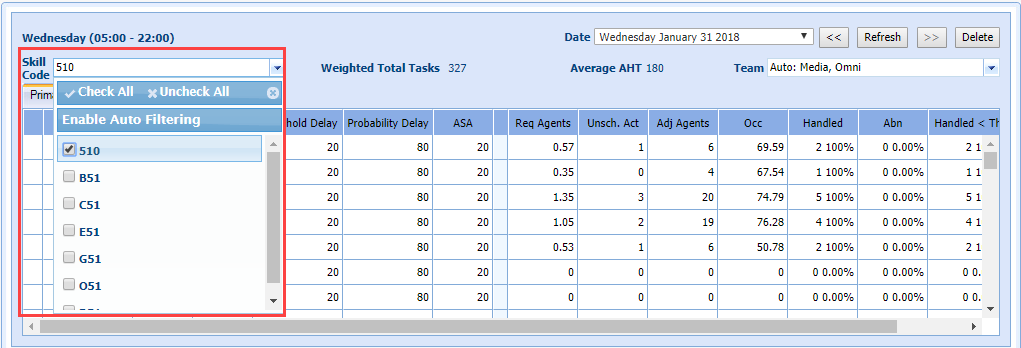
Four options are available: Check All, Uncheck All, Auto Filtering Enabled/Disabled, and Manually checking/unchecking boxes.
- Check All selects all Skill Codes.
- Uncheck All de-selected all Skill Codes.
- Auto Filtering Enabled automatically selects the relevant Skills Codes. When a user selects a skill(s) on the forecast screen, all of the Skill teams that Skill belongs to are automatically selected (Default Setting).
- Manually check boxes or uncheck boxes.
-
Select a Team.
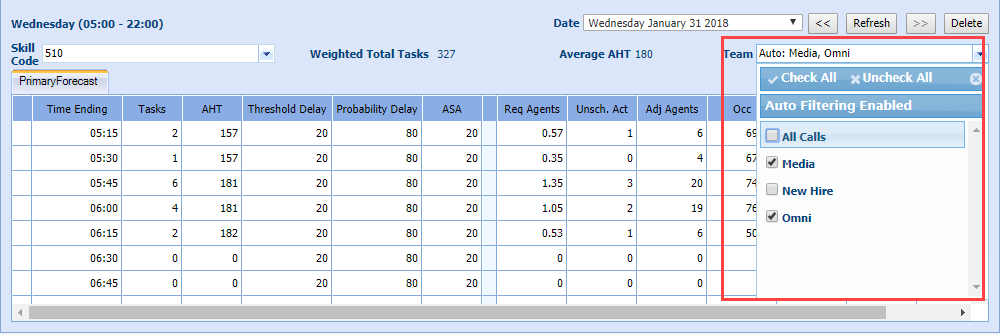
Four options are available: Check All, Uncheck All, Auto Filtering Enabled/Disabled, and Manually checking/unchecking boxes.
- Check All selects all Skill Codes.
- Uncheck All de-selected all Skill Codes.
- Auto Filtering Enabled automatically selects the relevant Skills Codes. When a user selects a skill(s) on the forecast screen, all of the Skill teams that Skill belongs to are automatically selected (Default Setting).
- Manually check boxes or uncheck boxes.
Using a different browser
Closing the browser, opening a new version, and logging back in
Logging out and logging back in
Leaving a section within Monet and coming back
NOTE: If a user is using two different browsers at the same time, when applying a filter in one browser, it is okay if the user must log out and back in before Monet will remember the filter settings in the other browser.
- Select
a Date. If you switch to a different part of Monet WFO Live, your selections for Skill Code and Team will be remembered.
Change Calls
- Select a date to bring the call data for the Forecast date requiring a change.

Change the Forecast Based on the Number of Tasks
- Select Total Day Change > Total Tasks. The system displays the total number of tasks for the forecasted date.

- Select a skill code(s) in the Skill Code drop-down menu as required.
- Select one of the following:
- Percentage
- Total
- Enter the numeric value (based on the selections made) in the field.
- Select Apply.
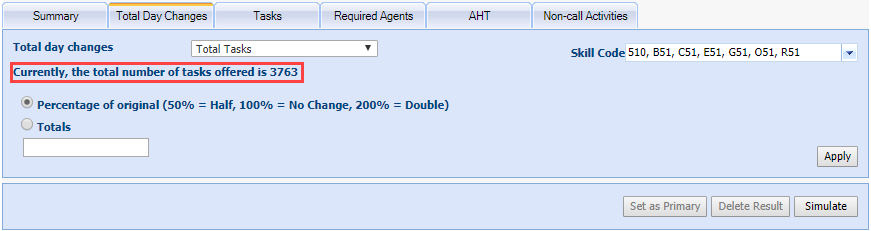
The system generates the new forecast based on the changed Percentage/Total number of calls.

Change Average Handle Time
- Select Average Handle Time. The system displays the current AHT (in seconds/per call).
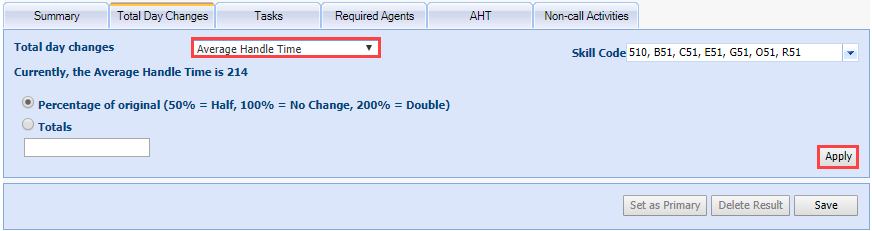
- Select a skill code in the Skill Code drop-down menu.
- Select one of the following:
- Percentage
- Total
- Either select Percentage (increase or decrease) or New Average Handle Time using the corresponding radio button(s).
- Enter the numeric value (based on the selections made) in the field.
- Select Apply. The system generates the new forecast based on the changed AHT time.
Change Service Objectives
- Select Service Objective. The system displays Skill Code, Average Speed of Answers, Threshold delay default for the day, and the Probability of Delay.
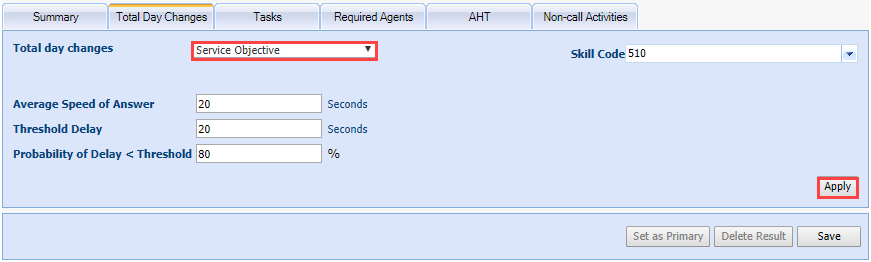
- Select a skill code in the Skill Code drop-down menu.
- Select either Average Speed of Answer or the Threshold/ probability delay default for day (in seconds/%) by selecting the radio button on the right.
For example, skill code selected as ENG and Threshold/Probability delay. The Threshold delay default for day is 20, and the Probability delay is 80%. - Select Apply.
Change Patience and Abandon %
- Select Change Patience Abandon %. The system displays the current Tolerance and Abandon % with the option to select the skill code from the Skill Code drop-down menu.
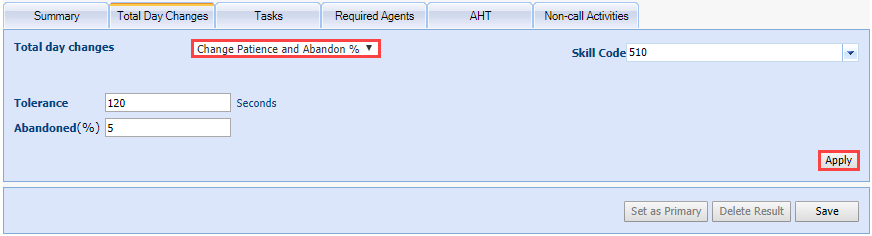
- Select a skill code in the Skill Code drop-down menu.
- Select Apply.
Setting Adjusted Agents
After you have made changes to the forecast, the required agent column might increase or decrease. If you would like these changes to be reflected in the Scheduling, Staffing and Managing options of the system, you need to set the adjusted agents to the new required employee’s number because the scheduling and staffing features in WFO Live take into account the adjusted agents column to determine the required number of agents for each time period.
To have WFO Live automatically update the Adjusted Agents column based on agent requirements and unscheduled activities, do the following.
Set Adjusted Agents
- Select Adjusted Agents.
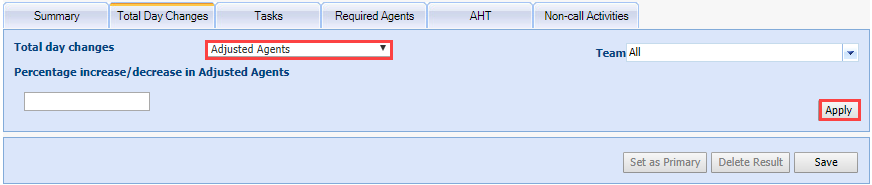
- Select the team from the Team drop-down menu.
- Enter a numeric value (percentage increase or decrease) in the field.
- Select Apply. The system updates the Adj Agents column.
- Select Save.
Change Non-Call Activity Volume
- Click the Non Call Activity Forecast tab. This tab displays the existing non-call activities. For instance, Email and Chat are displayed.
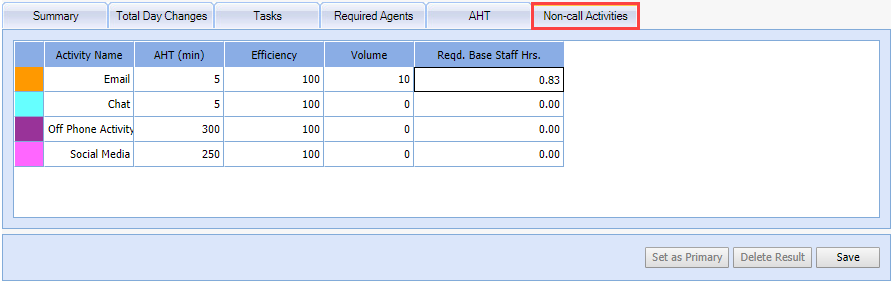
- Double-click the cell to edit.
- Enter the values.
- Select Save.